What you need:
- Used papers
- Cardboard
- Scissors
- Glue
- Toothpick
Steps:
Place the paper into a flat surface and put the toothpick into the paper’s corner. Slowly roll the toothpick.
As the paper obtain the rolled form, remove the toothpick and put in glue to secure. *It is important to keep the rolled paper thin so that it will not be bulky when we make the vase.
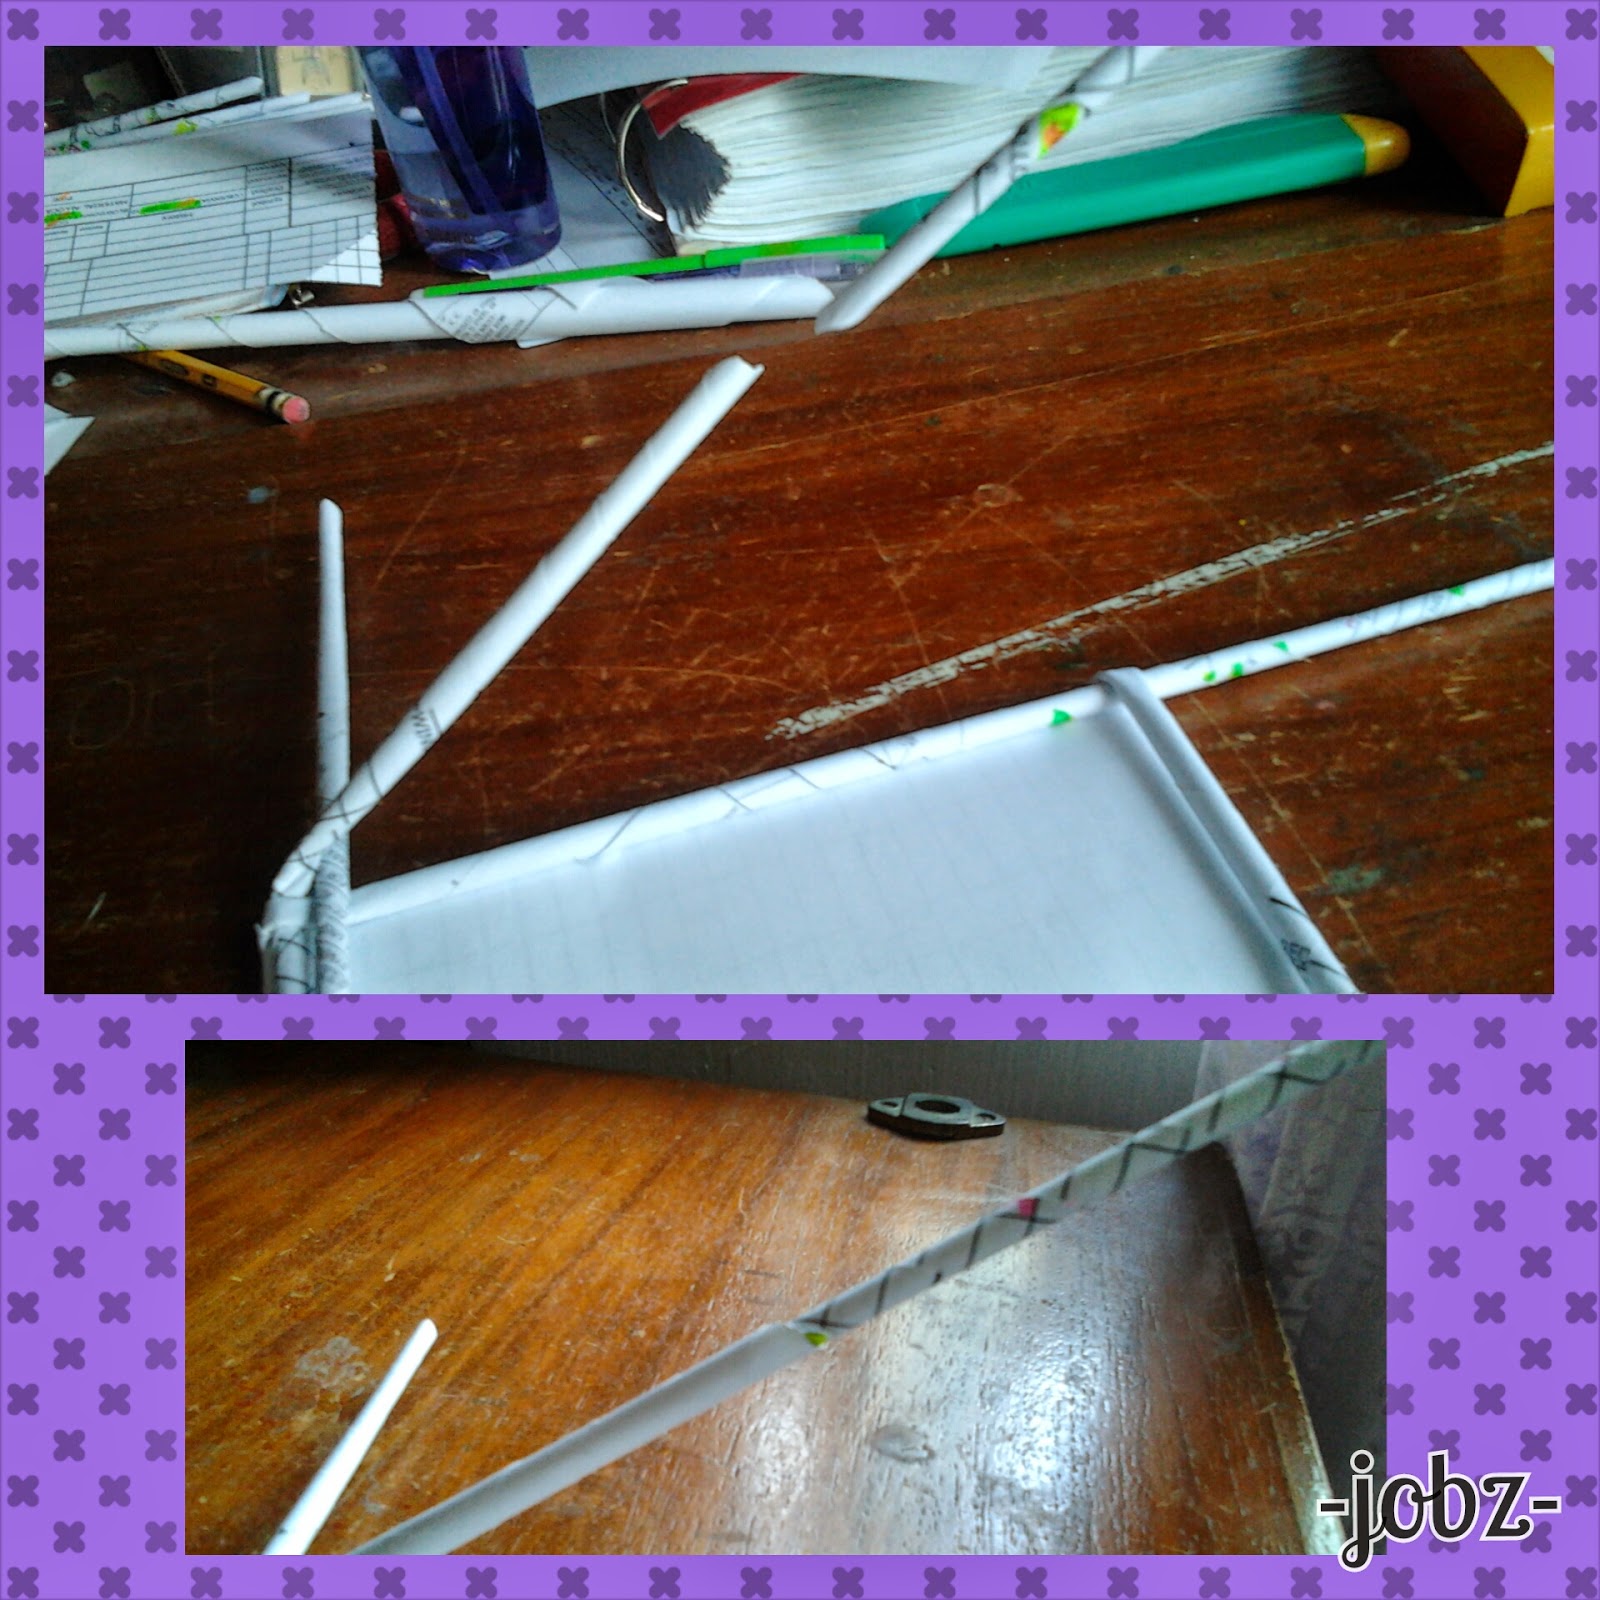
After making the rolled strips of paper, now its time to create the base. Just follow the pictures below and join them up using glue.
Fold the allowance on the side and place another cardboard on the top. And again place another paper with allowance to cover the cardboard.
The base should look like this.
Now, here comes the exciting and challenging part---the BODY. Flip the base on plain side (see picture), and start to fold the first strip along the side of the base.
Then, fold the second strip over the first, still following the side of the base as the pattern. Continue this pattern over the next strip and so on.
When you ran out of strips, simply insert another strip on the short one. Make sure you keep the folding of the strips firm and secured to avoid large holes on the vase.
After the several folds, you will notice a DNA shaped appearance like this.
If you feel that your vase is tall enough, you can end it by folding the strips outside and securing it by a glue.
TADAH! Your DNA shaped vase can now be used as an organizer. This is my first time to do this so its not that kinda good… haha… But nevertheless, its functional. ~Carpe diem!


